Adding MX Records To Netlify DNS Zone Files
30 January 2018
Photo: Andy Crouch
Recently I wrote about switching my hosting away from AWS over to Netlify. As part of the process, I also moved my DNS records over to Netlify. This process was painless but in the euphoria of such easy deployment, I forgot all about my mail records.
I use Hover as my domain host and use their email forwarding service on a selection of addresses. After a couple of days, I noticed these addresses were no longer being forwarded and I felt like an idiot!
After I berated myself, I set about looking at how I managed to get the MX records added to Netlify’s Domain zone records. To be honest it was harder than it should have been. Mainly down to the non-complete documentation from Netlify. They make reference to being able to do it but for the less inclined it was not at all clear.
So this is how you add your email (MX) related records to Netlify:
- Login to Netlify and head to the Domain Settings section for your site.
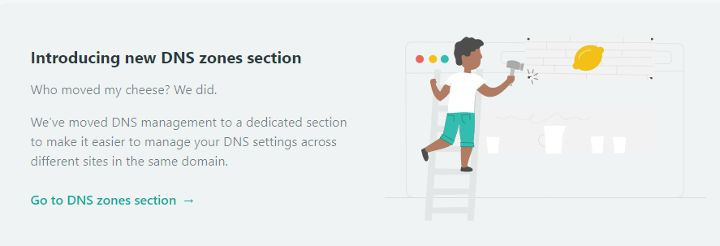
- Scroll to the bottom of the page and look for the new DNS zones section. At the time of writing, it looked like this.

- Select the zone relating to your domain.
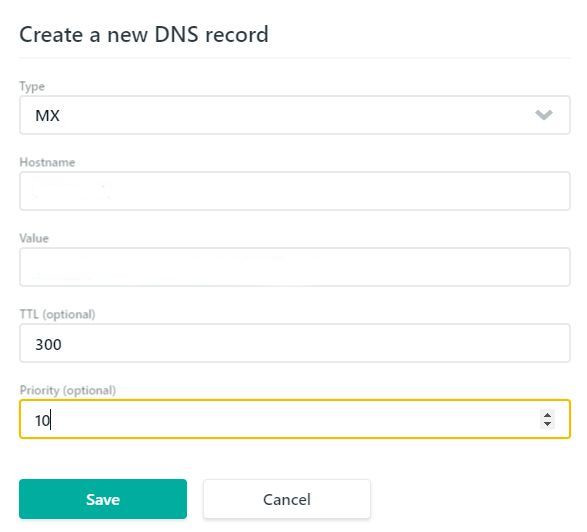
- Click the Add new record button and enter the settings.

The settings are as follows:
- Type - MX.
- Hostname - Will default to the name of your Netlify site name.
- Value - This should be the server path for your email service. Do not include http:// or htpps://
- TTL - This is the Time To Live setting for the record. The standard Netlify setting appears to be 3600 but I tend to set short TTL’s where possible.
- Priority - This should be set to 10 from what I can ascertain.
Click the Save button and wait for between 15 and 30 minutes for the settings to propagate. Your email services should be working as before.
If you have any comments or would like to discuss this topic further then please message me via twitter or email.
 Welcome to my site and blog. You can find out about me and read my thoughts on code and technology, start-ups and building things.